
Directions for Parents
Follow the link provided by your school to access the Scheduler, then follow the steps below.
Step 1: Sign In
- Enter your email and click Next.
- Returning users: If your email is recognized, enter your password.
- New users: If your email isn't registered, follow the prompts to Sign Up.
- You will then be sent to the scheduler.
If your school is offering a choice between In-Person and Virtual appointments, you will be prompted to give a response before locating your students.
Step 2: Locate Your Student(s)
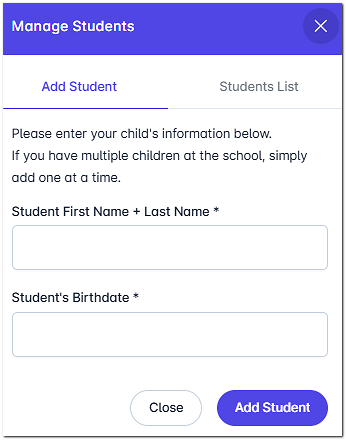
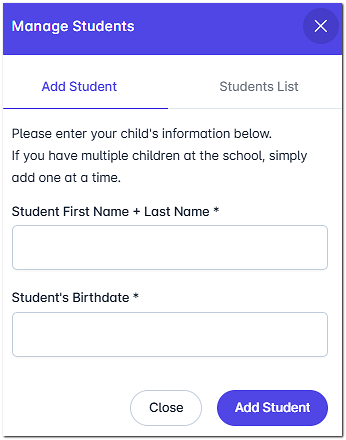
- Enter the required information to find your student(s), then click Next Step.
-
The two prompts are typically a student ID (or the Student's first and last name with no space) and a birthdate. (Unless your school specifies otherwise, enter the birthdate in the following format: MM/DD/YY). Continue this step for as many students as you need to schedule.
-
- Confirm your student(s) appear in the list, check the box next to their name(s), and click Next Step.
Step 3: Select Teachers
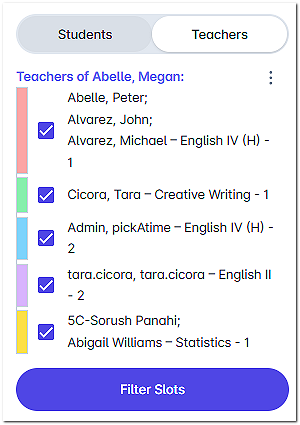
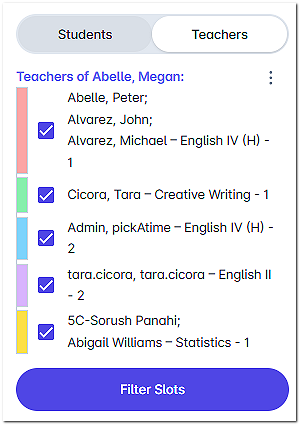
By default, all of your child's teachers are selected.
- To exclude a teacher: Uncheck the box next to their name.
- When ready, click Filter Slots.
Step 4: Book Appointments
The scheduling grid displays available times as squares with a plus sign (+).
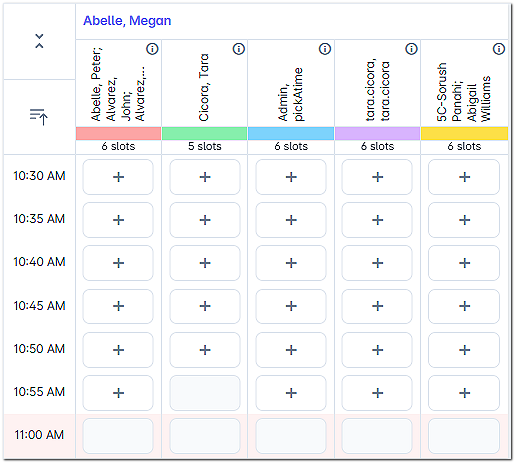
- Click your preferred time square.
- Click Create Appointment.
- A confirmation message will briefly appear at the top of the screen.
- Repeat for each teacher you'd like to visit.
Managing Your Schedule
View or Print Your Schedule
Click Printable Schedule in the left-hand sidebar to see your full itinerary.
Changes & Cancellations
On a computer:
- Click My Appointments in the left-hand sidebar.
- Locate the appointment you'd like to change.
- Hover over the appointment to reveal Details, Edit, and Cancel options.
On a mobile phone:
Important Notes
- To meet with a staff member who doesn't currently teach your child, please contact the school office directly.
- For questions or technical assistance, please call the school office.