
Google Calendar Integration
pickAtime offers a Google Calendar integration. When you choose to utilize this sync option, you will have your pickAtime appointments added to either your primary Google account and the appointments you have on your Google calendars will then be blocked out on your pickAtime schedule.
You can be connected to Google accounts regardless of the number of vendor accounts you are a part of. Please note that your pickAtime appointments will be added to your primary calendar.
You have two options to connect your calendar:
1. Set up the pickAtime - Google Workspace Integration - this action will automatically set the calendar integration for all the teachers.
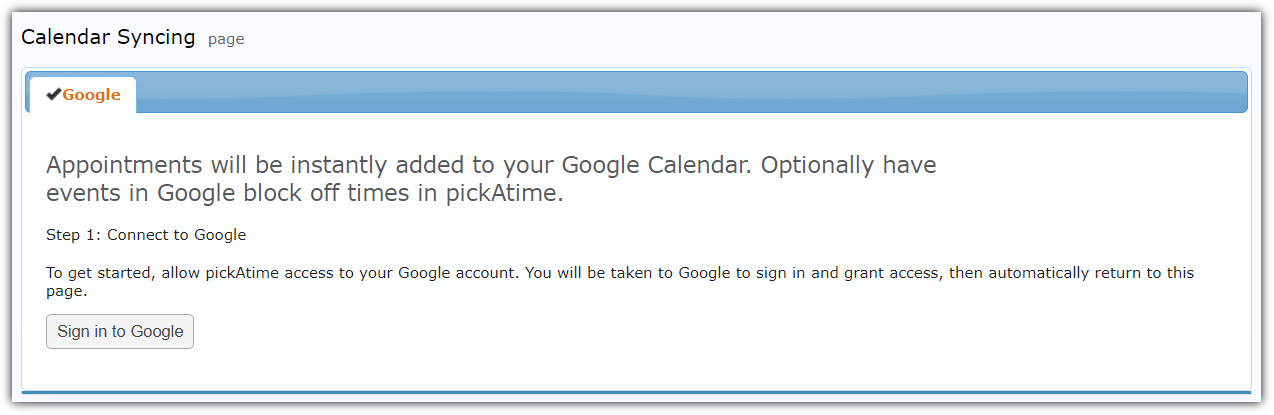
2. Ask teachers to sign into pickAtime and run the Calendar Sync. In the Admin UI tool, on the left-hand side navigation bar, select the Calendar Sync section. Select Google and then follow the steps to sync your Calendar:
1. Go to Calendar Sync and click Sign in to Google
2. If you have multiple accounts, select the one you are going to sync.
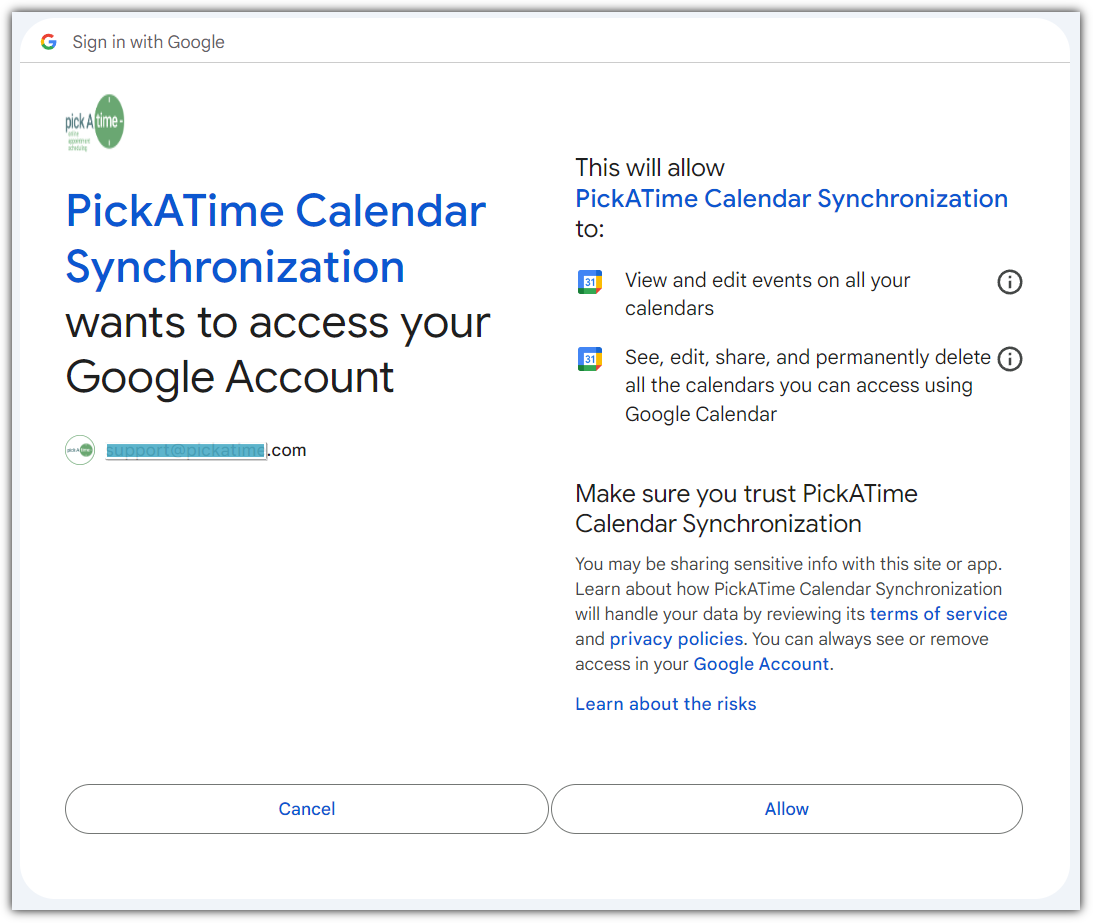
3. You will then be prompted to grant pickAtime authorization on your calendar.
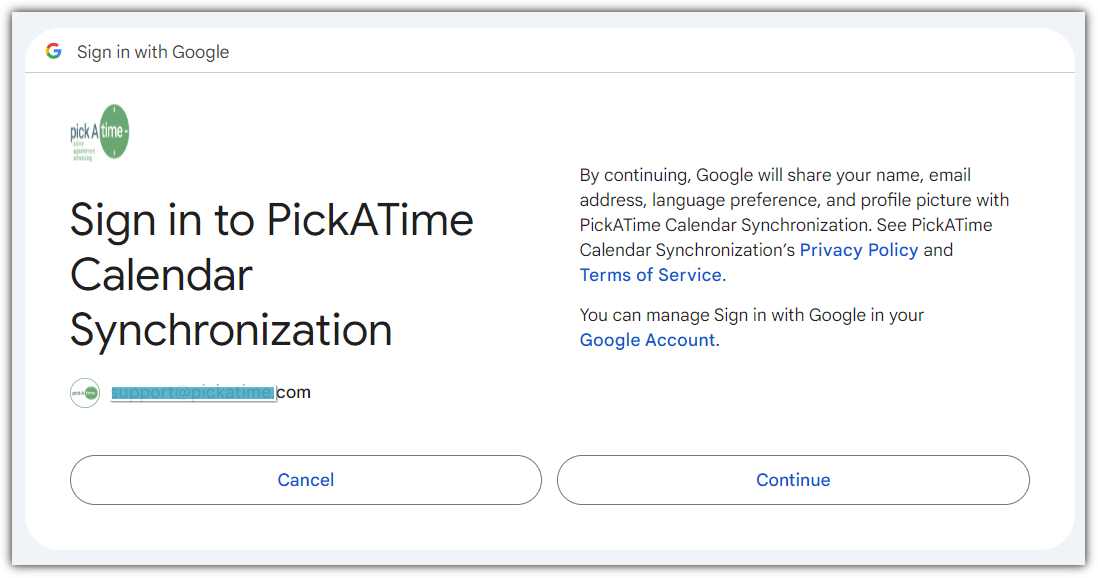
Select Continue to give permission, and then select Allow on the next page that comes up.
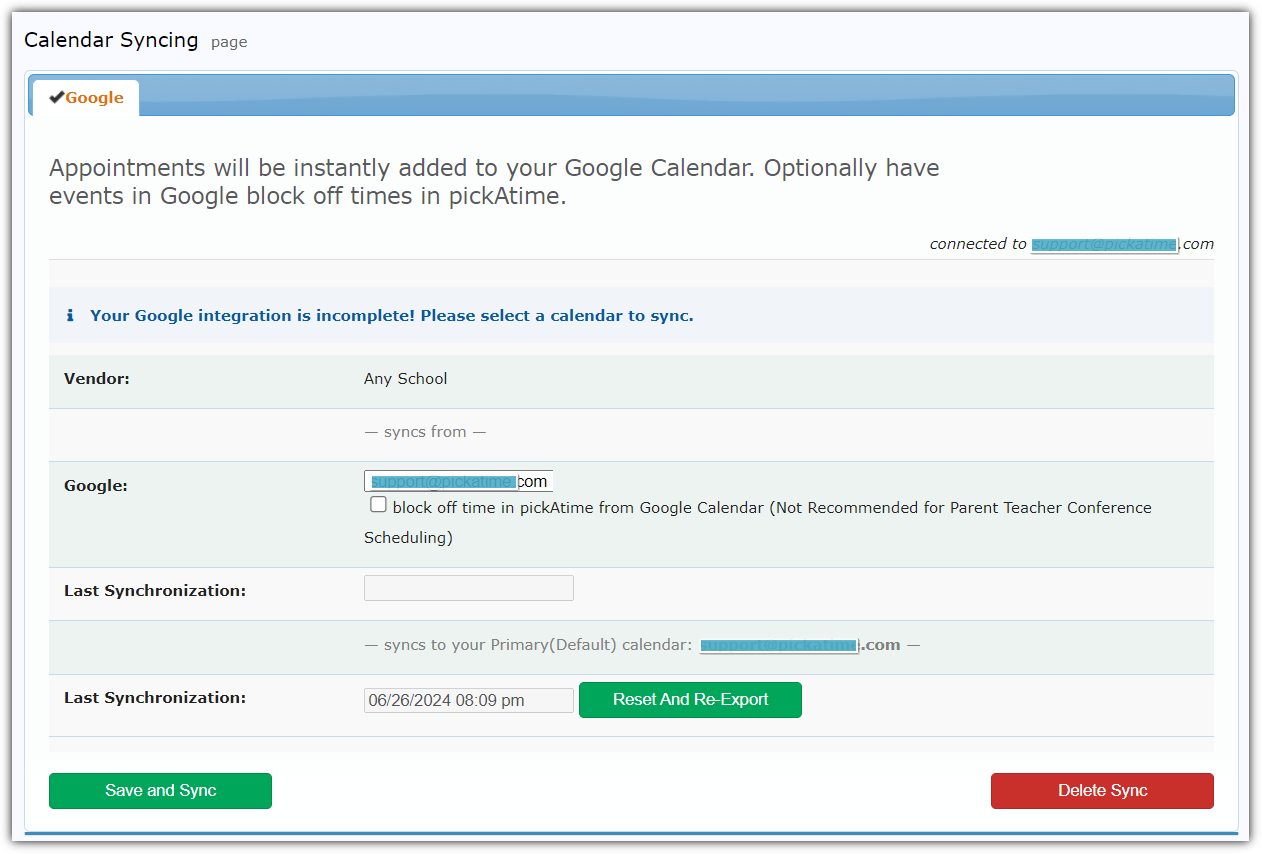
Then you will be sent back to the pickAtime website. From there, you select which of the calendars from your Google account you want to connect and if you want your appointments to be blocked out.
If you are a teacher, you do NOT want to select the option to have blocked off time in pickAtime from the Google Calendar.
Once your sync has been added, you will see that your initial appointments have been imported over from your Google calendar (note that subsequent calendar appointments may take up to 24 hours to see the appointments blocked out).

The columns for the imported appointments are as follows:
a. the date and time of the imported appointment
b. how long the appointment lasts for in minutes
c. name of the appointment
d. which calendar the appointment came from (Google or Outlook)
e. name of the calendar it came from
f. whether the appointment should be blocked out on the scheduler
Return to Events Management/ Appointments and click the Resources drop-down menu and select Assign Contact. A dialog box will come up where you can select the Contact person for the resource to the current calendar holder.
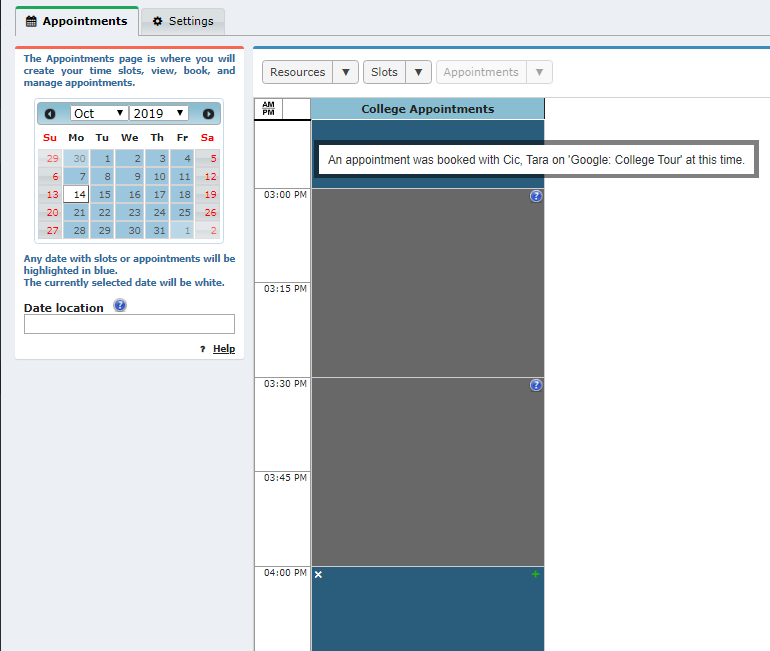
Below is a screenshot of appointments blocked from a Google calendar after a Contact has been assigned to the Resource. The time will appear blocked while giving the title of the appointment and referencing the calendar it originated from.
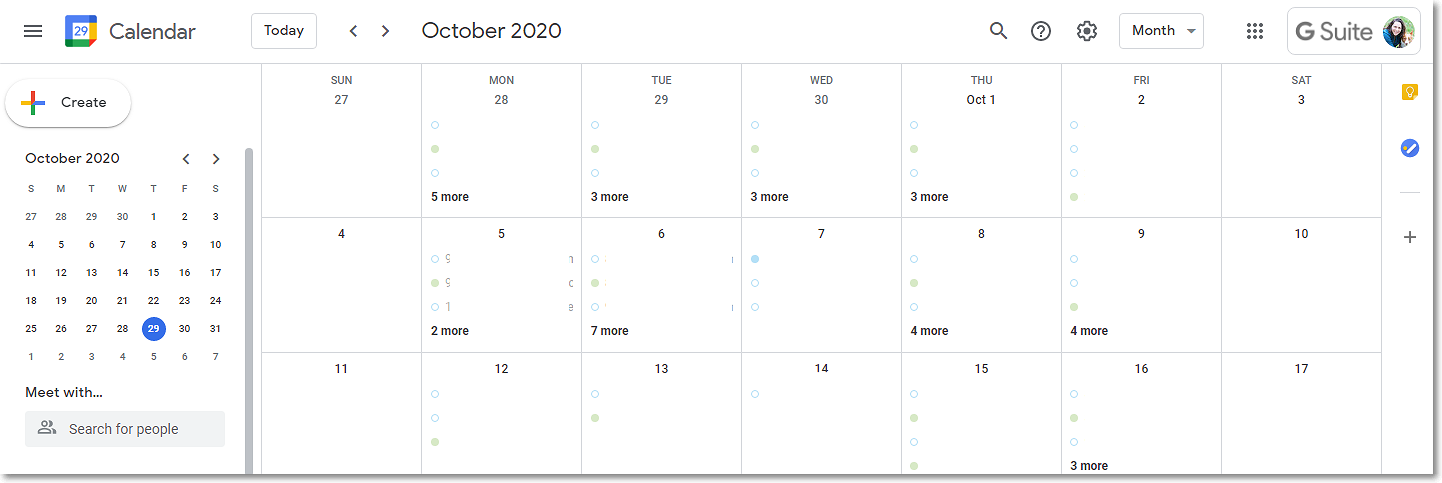
The pickAtime calendar in Google. Note that the pickAtime appointments will be color-coded, display the vendor account and resource name, and state that it's a pickAtime appointment.
Frequently Asked Questions
Here are some of the more common FAQ’s:
Q. We are not using the Google Meet Integration; our teachers are simply syncing their Google Calendars. Why are our parents' names and emails being added to the Google Calendar event? Google Calendar is now sending out event invites!
A. Since your teachers are using the Google Calendar Sync, our system is adding a calendar event/appointment to your Google Calendar. After the calendar sync, Google automatically sends notifications to your guests/parents. To keep this from occurring, your teachers could use the Subscribe to iCal Feed option on the Reports/Event Reports page, the Teachers' Schedule report. On the teachers' calendars would appear all appointments. But for your parents/guests, the calendar notifications would not be sent.
Q. What is the Reset and Re-Export Button?
A. The "Reset and Re-export" option just means that all appointments will be re-exported to the user's primary calendar. Usually, pickAtime exports new appointments and updates calendar events for appointments that have been changed since the "Last Synchronization" date.
Q. What is the Save and Sync Button?
A. The "Save and sync" option performs two actions: importing events from the selected calendar and exporting appointments to the primary calendar. If the "block off time in pickAtime from Google Calendar" option is enabled, then pickAtime will automatically import events from the selected calendar every 15 minutes.
Q. Why does my appointment time in Google Calendar look different than my confirmation email?
This usually happens due to a time zone mismatch.
If an event is created in a different time zone than your local setting, calendar providers like Google or Outlook will automatically adjust the time to match your location. For example, an appointment scheduled for 9:00 AM Central Time will appear as 10:00 AM if your calendar is set to Eastern Time.
If you notice that all appointments for an event are off by an hour, you, as an admin, can fix this by updating the event’s time zone:
-
Log in to the Admin UI
-
Go to Events > Preview
-
Locate your event and check the Time Zone column
-
Select the correct local time zone (e.g., Eastern Time) from the dropdown
To update existing appointments to the correct time zone, do the following in the Admin UI:
Once the time zone is set, the reminder emails (which include a calendar attachment) will reflect the updated time. Calendar entries will automatically sync and display the correct time for users.