# Login Options
### **Standard Log in**
This is the most frequently used login option. Your participants will create an account using their email and a password. You can also request additional information.
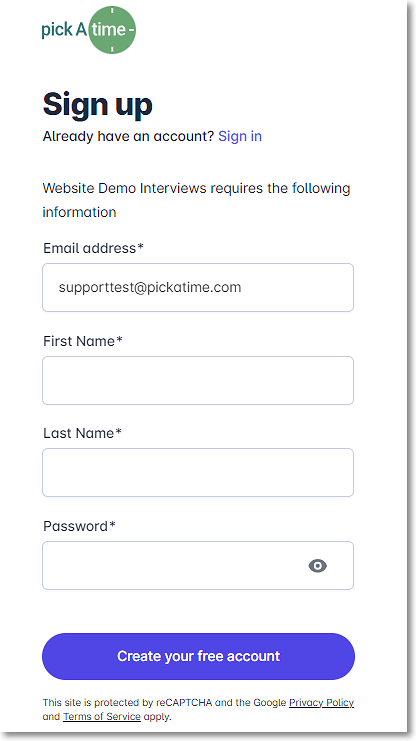
#### **New Users**
Your participants will create an account using the following steps.
1. They will go to the scheduling link provided by your organization. 
2. Enter your email address and push the "Next" button.
3. You will see the message "Your email address is not registered. Please click here to sign up."
4. Enter your First and Last Name and your password, and then click the "Create your Free Account" button to create your account.
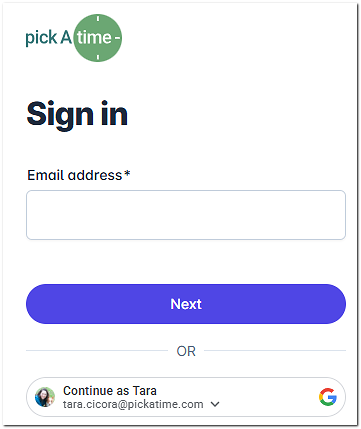
#### **Current Users**
- If you have previously registered, enter your email address and push the "Next" button, and you will be prompted to enter your password and then click "Sign In".
#### **Forgotten Password**
- If you have forgotten your password, you can click the Forgot Password button, and a new password will be emailed to you.
### **Single Sign-On Options **
PickAtime offers Single Sign-On (SSO) options as well. You can use Blackbaud, FinalSite, Azure, or you can create your own portal. If you are interested in any of these options, please reach out to us at

Go to **Global Setup/Business page, Integration Options section**, and select your SSO Provider from the drop-down menu to see the SSO settings.
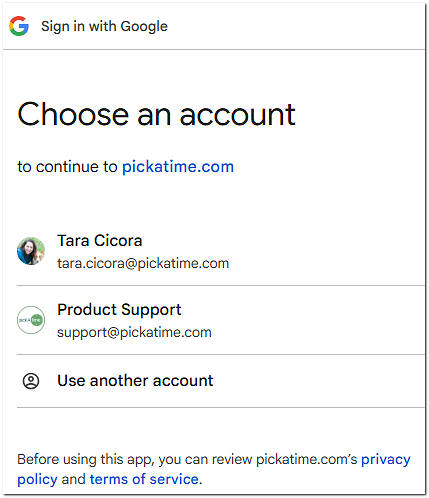
### **Allow login with external provider **
This option can be accessed at **Global Setup/Business page, Registration and Login Settings** section.

When selected, this option will allow your participants to log in using their Google account.
### **Additional Settings and Options for logging in.**
In addition to the above login options, there are additional options that can be used to enhance the current login options.
##### **Use Id Field** (Located in **Global Setup/Business/Account Level Settings/Account URL**)
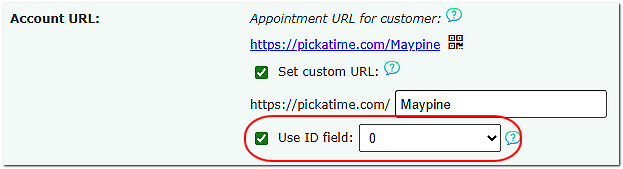
When this option is in use, participants also have to enter a unique ID (for example, an employee ID) after they enter their password or use Google to log in. ID fields are added on the Global Setup/Contacts page.
##### **Registration and Login Settings (Located in Global Setup/Business/Registration and Login Settings)**
##### **Registration: **
**Do not allow self-registration** - Prevents new users from creating their own accounts. Access is available to customers who have been manually added or imported to the vendor account. Please note that this option is now automatically disabled when “Show the scheduler to users before they log in” is enabled.

##### **Login:**
1. **Show the scheduler to users** - This option allows you to decide if you want participants to see the appointment slots before or after they log in. For accounts that run PTA events, this option is not available to change.
2. **Allow login with external provider** - When selected, this option will allow your participants to log in using their Google account. This feature can be used when “Show scheduler before or after login” is enabled.
3. **Show the following message to Locked contacts** - In the Contacts section of the Admin UI, you can change the default access level of Allowed to Not Allowed for any contact. The Locked Out message will be displayed to any contact where you have set this access to ‘Not Allowed’.
##### **Password Requirements:**
1. Use "strong password" - PickAtime passwords require a minimum of 8 characters and can only contain numbers, letters, and !@#$%&\\/=\_.,;: Activating this option also adds the following requirements: digits, Upper and Lower Case, and special characters. It also gives you access to the lower two options.
2. Password must be changed every 90 days - Requires participants to change their passwords on a 90-day rotation.
3. Password must not be used for 10 rotations - Participants must not reuse the same password within 10 rotations.