# Insert Logo / Image / Document
### **Insert Logo / Image/document**
PickAtime offers an option to upload your logo/image/document via our Insert Image feature in two different ways. You can add your logo via the Global Setup / Business page. You can also add images and documents to a number of sections within the CUI Messages or Notification Setup page.
**File Types Accepted**
File types for images: \*.jpg; \*.jpeg; \*.png; \*.gif;
File types for documents: \*.doc; \*.docx; \*.pdf; \*.txt; \*.xls; \*.xlsx
---
### **Option 1 - Upload a logo to your account:**
1. Go to Global Setup / Business, Account Level Settings, Account Logo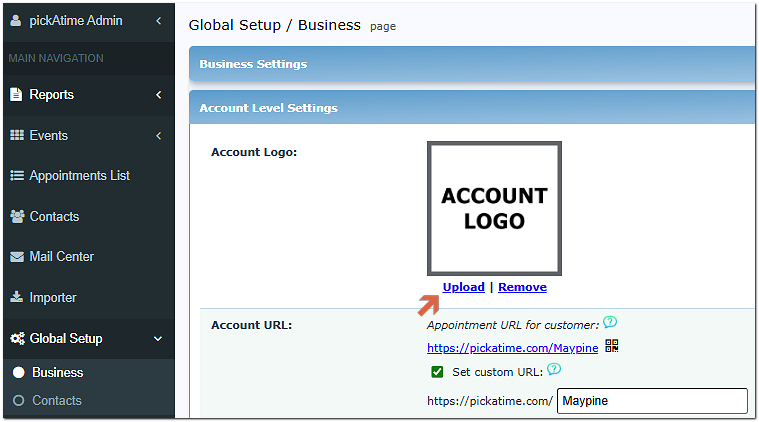
2. Click on the upload button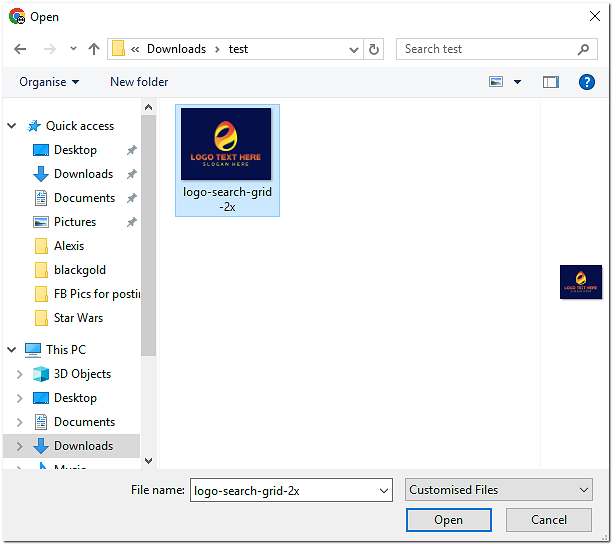
3. You will then see a pop-up File Manager window, where you can choose a File on your PC and click the Upload button.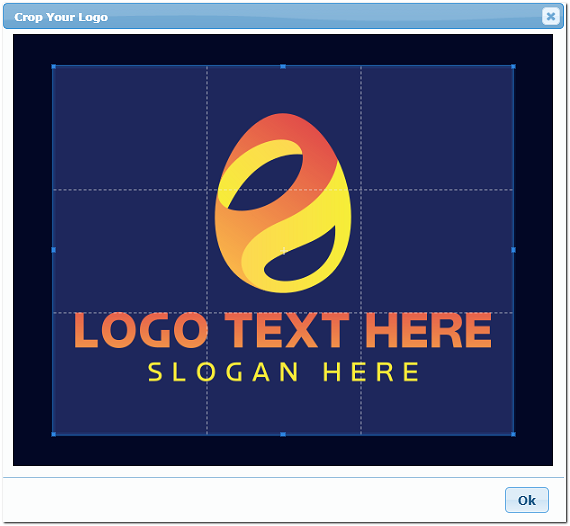
4. Then you will see the Image window with the option to crop your image. Once you have finished cropping, click 'OK.'
5. Your logo is now displayed on your account.
---
### **Option 2 - Upload a document to a hyperlinked item within an Email.**
Let's say you would like to add the document to the Footer of the Confirmation Email.
If you want to attach the document to a hyperlinked text, do the following:
1. Within the email, type the text that you want to hyperlink and then click the insert link option.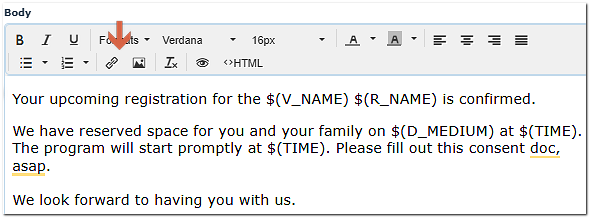
2. Within the dialog box, click the file option.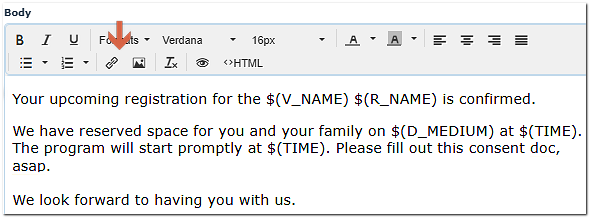
3. Once you click on the Ok button, the File Manager will appear. Here, you can click on the Choose File button if your file is already uploaded and in our system.
4. If you still need to select a file to upload, click Choose File, select your file, and then click the Upload button.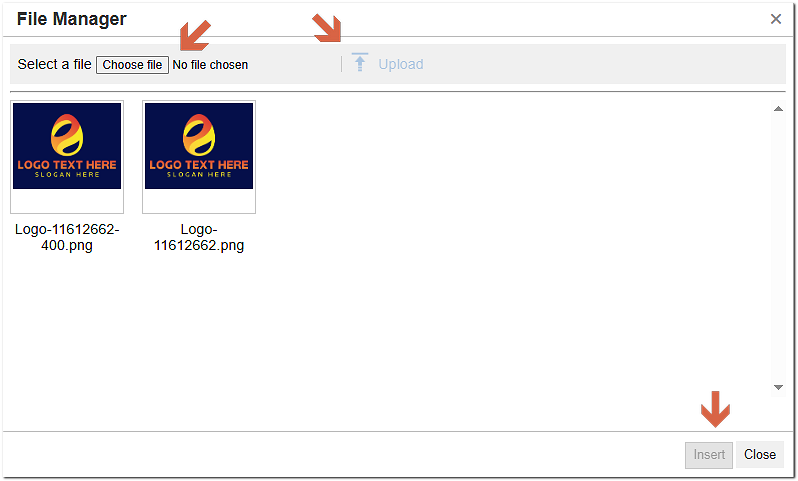
5. Once your file is uploaded and in our system, click Insert. 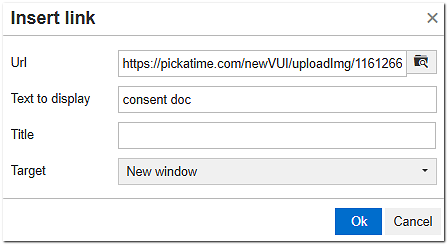
6. Within the Insert link dialog box, make any changes to the Text to display and Title. If you want the document to open in a new window, click the ‘New Window’ option on the Target drop-down. Then click Ok.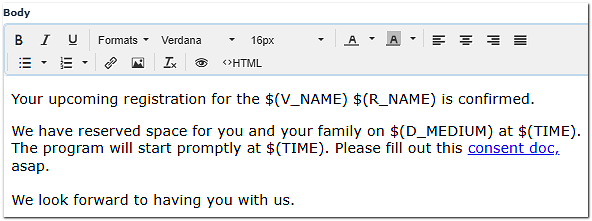
7. Your text is now hyperlinked to the document.